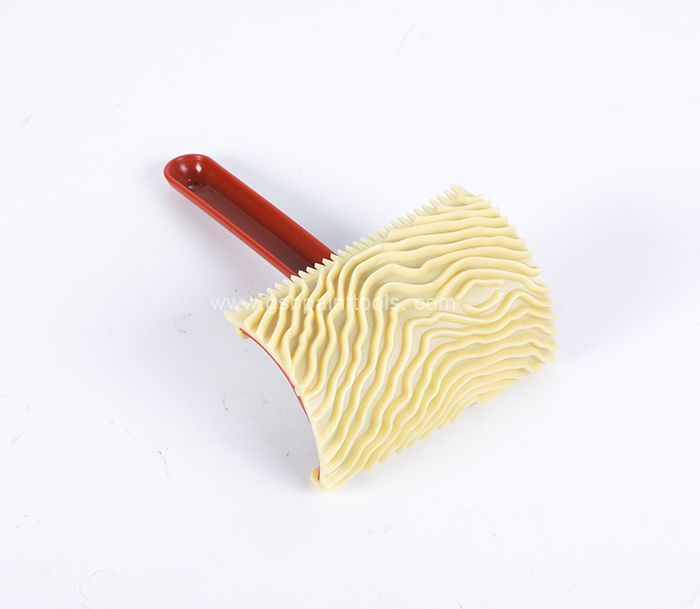
How To Use The Wood Graining Tools Correctly?
Creating lifelike wood grain effects using graining tools is a captivating process, whether you're an avid DIY enthusiast or a seasoned painter. Follow this detailed guide for a systematic approach to achieving authentic wood finishes on different surfaces.
1. Surface Preparation:
Start by thoroughly preparing the surface you plan to paint. Ensure it is clean, smooth, and free of any debris or imperfections. Apply a base coat in the background color that complements your envisioned faux wood finish.
2. Select the Appropriate Tool:
Choose a graining tool that aligns with the wood grain you intend to replicate. These tools come in diverse shapes and patterns, each crafted to imitate specific wood species. Consider the size and style of the tool based on your desired outcome.
3. Apply Base Coat and Background Color:
Brush on a base coat of paint in the selected background color. This foundational color will serve as the backdrop for your faux wood grain, so pick a shade that harmonizes with your overall color scheme.
4. Employ the Graining Tool:
Dip the chosen graining tool into a paint color that contrasts with the base coat. Wipe off excess paint to prevent clumping. Gently drag the tool across the painted surface, experimenting with different strokes to achieve a natural wood grain appearance.
5. Vary Pressure and Direction:
To mimic the irregularities found in authentic wood, vary the pressure and direction of your strokes. Lighten the pressure for subtle lines and increase it for more pronounced grain patterns, adding depth and realism to your faux wood finish.

6. Layering and Detailing:
Enhance the three-dimensional effect by layering various shades of paint. Start with the base color, use the graining tool, and then incorporate darker or lighter tones strategically. This layering technique contributes to a more nuanced and realistic appearance.
7. Create Knots and Imperfections:
Employ a fine brush or a smaller DIY graining tool to introduce knots and imperfections reminiscent of real wood. Mimic the natural patterns of knots, paying careful attention to placement for an authentic aesthetic.
8. Practice on Spare Surfaces:
Before tackling your final project, hone your technique by practicing on spare surfaces or scrap materials. This preliminary experimentation allows you to refine your approach, become adept with the tool, and make any necessary adjustments.
9. Allow Paint to Dry:
Once satisfied with the wood graining effect, permit the paint to thoroughly dry. This ensures a well-set color foundation and provides a stable canvas for additional layers or detailing without the risk of smudging.
10. Seal the Finish:
Conclude your faux wood project by applying a clear sealer or varnish. This protective layer not only safeguards the painted surface but also accentuates the wood-like appearance, resulting in a polished and professional finish.
Conclusion: Crafting Realism with Wood Graining Tools In conclusion, mastering the use of wood graining tools involves a combination of skill, creativity, and meticulous attention to detail. By following these steps, you can achieve realistic wood grain effects on various surfaces, infusing your projects with a touch of craftsmanship and sophistication. Whether you're revamping furniture, creating decorative elements, or elevating interior spaces, the correct utilization of wood graining tools unlocks a realm of possibilities for distinctive and visually appealing designs.
161
0
0

Comments
All Comments (0)